There’s something magical about cake pops—tiny, bite-sized treats that turn ordinary cake into fun, delicious perfection. I first fell in love with them at a bakery, mesmerized by the colorful decorations, glossy chocolate coating, and endless flavor possibilities. But when I tried making them at home, I quickly realized that not all cake pop recipes are easy.
That’s why I created this easy cake pop recipe—a simple, fail-proof method that gives you moist, flavorful cake pops with a perfect chocolate shell. Whether you’re making them for a birthday, a baby shower, or just a fun kitchen experiment, these homemade cake pops will impress every time!
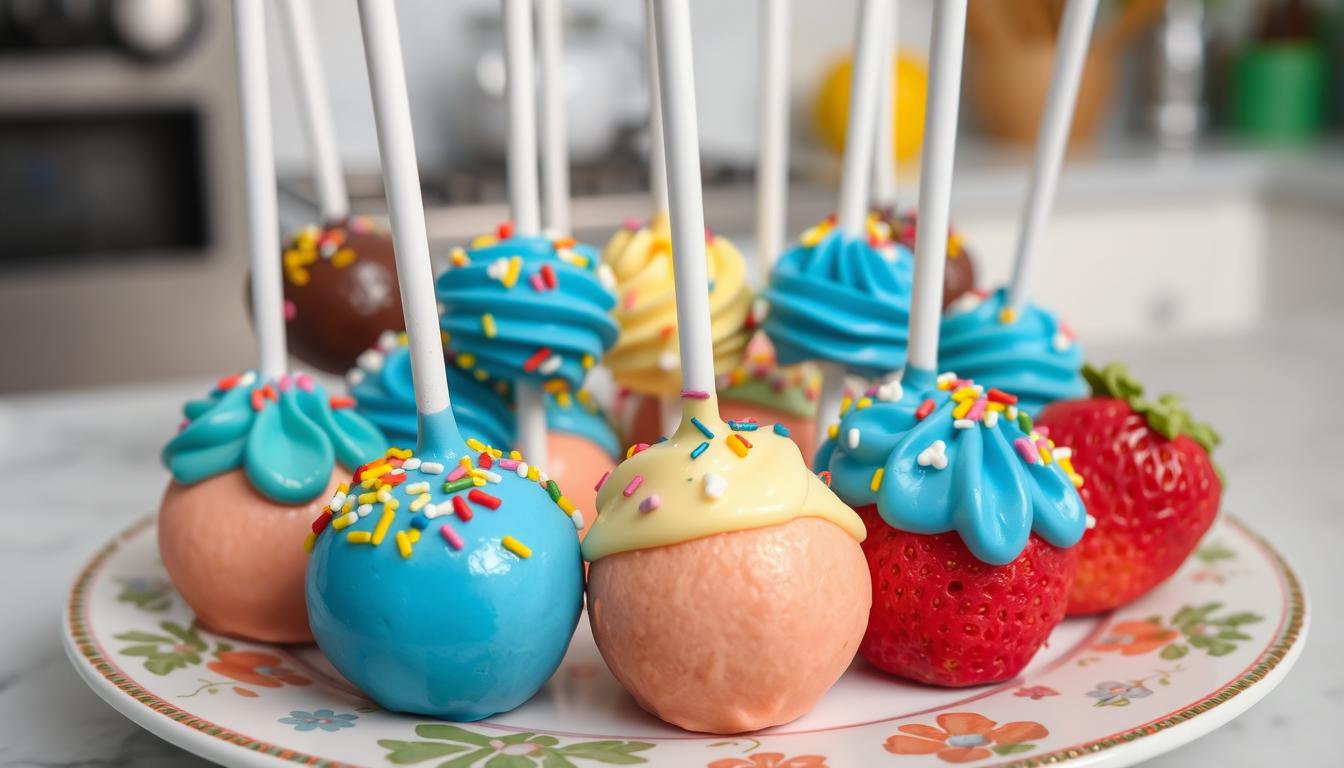
Imagine sinking your teeth into a soft, moist cake pop wrapped in silky, melted chocolate—pure bite-sized perfection! It’s easy to make and will impress everyone.
Quick Overview
✔ Perfect for beginners – simple, step-by-step instructions.
✔ Uses leftover cake – no need to bake from scratch.
✔ Customizable – decorate with chocolate, sprinkles, or themed designs.
✔ Great for any occasion – birthdays, holidays, or party favors.
✔ Easy to store – refrigerate for up to 5 days or freeze for later.
Table of contents
- Essential Ingredients and Equipment
- Easy Cake Pop Recipe: Step-by-Step Guide
- Common Mistakes to Avoid
- Mastering the Chocolate Coating Process
- Best Cake Pop Flavors & Fun Variations to Try
- Professional Tips for Perfect Results
- Decorating Techniques and Design Ideas
- What Makes This Easy Cake Pop Recipe Perfect for Parties?
- How to Store & Keep Cake Pops Fresh (Pro Tips)
Essential Ingredients and Equipment
Making homemade cake pops is easier than you think! With just a few basic ingredients and tools, you’ll be able to whip up a batch of these delicious, bite-sized treats in no time.
Ingredients Needed
- Cake mix (your favorite flavor)
- Buttercream frosting (homemade or store-bought)
- Chocolate melting wafers (dark and white)
- Decorations (sprinkles, jimmies, or other toppings)
Looking for creative ways to use extra ingredients? Explore these sourdough discard recipes.
Essential Equipment
- Cake pop sticks
- Cake pop press or cookie scoop
- Microwave-safe bowls for melting chocolate
- Styrofoam block or glass filled with rice for drying cake pops
With these basic ingredients and tools, you’re ready to make delicious homemade cake pops. They’re perfect for impressing your loved ones. The recipe is simple and versatile, great for any event.
“The key to perfect cake pops is having the right tools and ingredients on hand. This easy recipe makes it a breeze to whip up a batch of these adorable treats.”

This easy cake pop recipe is all about being flexible. Try different cake and frosting flavors to make your own special treats. With a bit of creativity and the right tools, you’ll be a pro at making cake pops in no time!
Easy Cake Pop Recipe: Step-by-Step Guide
Making cake pops at home is simpler than you think. Follow this easy guide to make your own quick cake pop recipe. It’s both tasty and looks great. Perfect for parties or a fun baking project, these cake pops will wow everyone.
Preparing the Cake Base
First, bake your cake as the package says. Let it cool down completely. Then, crumble it into fine crumbs. This will be the base of your cake pops.
Creating the Perfect Cake Ball Mixture
In a big mixing bowl, mix the cake crumbs with enough buttercream frosting to hold them together. Don’t use all the frosting, as it can make the pops too soft. Start with three-quarters of the frosting and add more if needed.
Shaping and Freezing Techniques
Use a cake pop press or a small scoop to shape the mixture into balls, like ping pong balls. Put the balls on a parchment-lined baking sheet and freeze for 10 minutes. This helps them keep their shape.
After freezing, roll the balls between your palms to smooth them out. Then, put them back in the freezer for 30 minutes before coating.

“Freezing the cake and frosting mixture until chilled is recommended before shaping the cake balls.”
Chilling the cake balls well before dipping them in chocolate is key. It keeps them from falling off the sticks and keeps their shape perfect.
Common Mistakes to Avoid
Even with a simple recipe, there are a few common mistakes that can affect the final result. Let’s go over what to avoid so your cake pops turn out perfect every time! This can make the cake soggy and dense.
Another mistake is overheating the chocolate when dipping. This can cause the chocolate to seize, making it hard to get a smooth finish.
It’s also important not to let the cake balls get too warm before dipping. This can make them lose their shape. Make sure they are fully set before packaging or serving. Rushing this step can cause them to crumble or melt.
Patience is key when making cake pops. It’s important to chill and set them properly for the best results. Don’t rush the process. Taking your time will help you make delicious and beautiful cake pops.
Mastering the Chocolate Coating Process
Now that you know what to avoid, let’s dive into one of the most important steps—coating your cake pops with a smooth, glossy finish that looks and tastes amazing!
Use candy melts or premium best cake pop recipe chocolate. The goal is to get a smooth, even coat that highlights the cake’s taste.
Start by melting your chocolate in a double boiler or the microwave. Stir often to avoid burning. When the chocolate is smooth and ready, it’s time to coat. Insert a lollipop stick into each cake ball, making sure it’s secure.
- Dip the cake pop into the melted chocolate, rotating it to fully coat the surface.
- Gently tap the pop against the side of the bowl to remove any excess chocolate.
- Twirl the pop as you lift it out, allowing the chocolate to drip down and create a smooth, seamless coating.
Work in small batches of 5 or fewer pops to prevent the chocolate from hardening too quickly. If the chocolate starts to thicken, simply reheat it over low heat, stirring until it reaches the desired consistency.
The secret to perfect homemade cake pops is in the coating. With practice and the right temperature, you’ll make treats that wow your guests and satisfy your cravings.
Best Cake Pop Flavors & Fun Variations to Try
Now that you’ve picked your favorite cake pop flavor, the next step is to make them visually stunning. From simple sprinkles to intricate designs, let’s explore the best decorating techniques to elevate your cake pops! There’s a world of creative possibilities beyond the classic flavors. Let’s explore the best flavor combinations and variations for easy cake pop recipes that will delight your taste buds.
Classic Flavor Pairings
Some classic combinations always hit the mark when it comes to cake pop flavors. Vanilla cake with smooth buttercream frosting is a timeless favorite. Chocolate cake with rich chocolate buttercream delivers a decadent indulgence. Red velvet cake with tangy cream cheese frosting is a crowd-pleaser.
Seasonal and Holiday Options
Cake pops are perfect for seasonal and holiday flavors. Funfetti cake pops with rainbow sprinkles are great for birthdays. For a seasonal twist, try pumpkin spice cake pops for fall or peppermint cake pops for a festive winter treat—both flavors are crowd-pleasers!
Pair your summer-inspired cake pops with a refreshing mango margarita for a perfect warm-weather treat.
These flavors are not only delicious but also visually stunning, making them perfect for themed events.
Creative Twist Ideas
For a unique twist, try creative flavor combinations. Lemon cake pops with lemon frosting offer a tangy twist. Carrot cake pops with cream cheese frosting are a delightful surprise. Strawberry cake pops with strawberry frosting and chocolate drizzle are indulgent.
With these endless possibilities, you can unleash your creativity and craft fun cake pop ideas. Whether you stick to classics or explore new flavors, the key is to have fun and let your taste buds guide you.
Professional Tips for Perfect Results
Making delicious cake pops at home needs some skill, but with the right methods, you can get pro-level results. The best cake pop recipe and quick cake pop recipe in this article are a great start. Here are some expert tips to make your cake pops even better:
- Use candy melts or tempered chocolate for the best coating results. Regular chocolate can sometimes be challenging to work with.
- Keep your cake balls chilled and the chocolate coating warm for easy dipping. This helps create a smooth, even finish.
- Let the excess chocolate drip off the cake pops before placing them on a cooling rack or styrofoam block. This prevents a messy, drippy appearance.
- Invest in a styrofoam block or box with holes to allow your cake pops to dry upright. This ensures they maintain their perfect shape.
- Don’t over-bake the cake to ensure your cake pops stay moist and delicious. Adding a bit of oil to the boxed cake mix can also help with moisture.
By following these professional tips, you’ll be able to create the best cake pop recipe and quick cake pop recipe right at home. You’ll impress your friends and family with your baking skills.
Decorating Techniques and Design Ideas
Cake pops are loved for their design and flavor variety. You can go from simple sprinkles to advanced styles. Whether you’re new or experienced, decorating cake pops can make them special.
Basic Decoration Methods
For beginners, sprinkles add a fun, colorful touch. Drizzling chocolate in different colors gives a sleek look. Coating with colored sugar or nonpareils adds crunch and beauty.
Advanced Decorating Styles
As you get better, you can try more complex designs. Marbling chocolate creates a beautiful swirl. Using melted chocolate or royal icing for details turns simple pops into art. Adding glitter or fondant makes them even more stunning.
It’s key to add toppings right after chocolate coating. This ensures they stick well. Playing with colors and patterns makes your pops eye-catching.
Decorating cake pops is all about creativity and personal touch. Whether for a birthday or holiday, custom decorations make them unforgettable.
| Decorating Technique | Popularity | Ease of Application |
|---|---|---|
| Sprinkles | High | Easy |
| Drizzled Chocolate | Moderate | Moderate |
| Colored Sugar | High | Easy |
| Marbling | Low | Challenging |
| Piped Designs | Moderate | Moderate |
| Edible Glitter | High | Easy |
Cake pops offer many decorating options, from sprinkles to marbling. Each method can create unique, appealing pops for any event.
What Makes This Easy Cake Pop Recipe Perfect for Parties?
Cake pops are delightful treats that everyone loves. They look great and are easy to make with a simple cake pop recipe. They’re perfect for birthdays, baby showers, or holidays.
What Makes Cake Pops Special
Cake pops mix cake’s flavor with lollipop’s ease. They’re made from cake, frosting, and chocolate. This makes them a tasty, easy-to-eat treat that you can customize.
Basic Components of Cake Pops
- Cake: The base, which can be homemade or from a mix.
- Frosting: Smooth frosting holds the cake together.
- Chocolate or Candy Coating: The shiny outer layer.
- Decorations: Toppings or drizzles for extra flair.
Popular Occasions for Serving
Cake pops are great for many events. They’re loved at birthdays, baby showers, weddings, and holidays. Their small size and custom designs make them a hit at any party.
| Occasion | Example Cake Pop Designs |
|---|---|
| Birthday Party | Colorful sprinkles, themed decorations, personalized messages |
| Baby Shower | Pastel colors, baby-themed toppers, gender-reveal designs |
| Wedding/Bridal Shower | Elegant white chocolate, gold or silver accents, floral motifs |
| Holiday Celebrations | Christmas trees, pumpkins, heart-shaped, patriotic designs |
For any event, fun cake pop ideas and a simple cake pop recipe can make it special. They charm your guests with their irresistible charm.

“Cake pops are the perfect way to add a touch of whimsy and personalization to any celebration. They’re easy to make, endlessly customizable, and always a hit with guests!” – Debby, Cake Pop Enthusiast
They’re easy to make, endlessly customizable, and always a hit with guests! For more delightful dessert ideas, check out how to make a churro cheesecake to accompany your cake pops.
How to Store & Keep Cake Pops Fresh (Pro Tips)
Homemade cake pops are a joy to make and last surprisingly long when stored right. They can be enjoyed for days, making them perfect for any event. This makes them a convenient and versatile treat.
To keep your cake pops fresh and long-lasting, follow these simple steps:
- Store cake pops at room temperature in an airtight container for up to 3 days.
- Cake pops can be stored in an airtight container at room temperature for up to 3 days or frozen for up to 3 months. When freezing, thaw them in the fridge before decorating to maintain the best texture. For another make-ahead treat, consider trying this easy lasagna soup recipe.
- No refrigeration is needed if you’ve used candy melts or other non-perishable coatings for your cake pops.
- When gifting or serving at events, consider individually wrapping the cake pops in cellophane bags with festive ribbons or bows to maintain their freshness and presentation.
With the right storage, you can enjoy your homemade cake pops for a long time. Whether for a party or personal enjoyment, these tips will keep your cake pops fresh and delicious.
| Food Item | Fridge Storage | Freezer Storage |
|---|---|---|
| Meat (Bacon, Ham, Sausage) | 1 week | 1 month |
| Cheese (Hard and Soft) | 3-4 weeks | 6 months |
| Deli Meat | 3-5 days | 1 month |
| Eggs (Hard-boiled, Substitutes) | 1 week, 3 days | Not recommended |
| Fruit (Sliced) | 3-4 days | 3 months |
| Cooked Meat/Poultry | 3-4 days | 6 months |
| Dairy (Butter) | 1-2 months | 6-9 months |
| Baked Goods (Cakes) | 1 week | 6 months |
| Ice Cream | 2 hours (out of freezer) | Not recommended |
By following these guidelines, your homemade cake pops will stay fresh and delicious for days or even months. Enjoy these easy recipes without worrying about spoilage or waste.
FAQ
Cake pops are bite-sized, coated in chocolate, and served on a stick—unlike regular cake, which is sliced and served on a plate.
Dip the stick in melted chocolate before inserting it into the cake ball. Chill for 15 minutes to secure it before dipping.
Yes! Store cake pops in the fridge for up to 5 days or freeze them for up to 3 months before decorating.
Use room temperature cake balls and slightly cooled melted chocolate to prevent sudden temperature changes that cause cracks.
Use colored candy melts, sprinkles, or drizzle with chocolate. For events, try themed decorations like gold dust for weddings or pastel colors for baby showers.
Final Thoughts: Make Cake Pops Like a Pro!
With this easy cake pop recipe, you can create fun, delicious, and beautifully decorated treats for any occasion. Whether you’re making them for a birthday, a wedding, or just a fun weekend project, these homemade cake pops are guaranteed to impress!
Now it’s your turn! Have you tried this recipe?
💬 Leave a comment below and share:
✔️ What flavor and frosting combo did you try?
✔️ Did you experiment with fun cake pop ideas like colorful sprinkles or themed decorations?
✔️ Do you have a pro tip for getting the perfect coating?
🔥 Reader Favorite: Some of our readers love using crushed Oreos or coconut flakes for extra crunch! What’s your favorite cake pop topping? Drop your ideas in the comments!
Easy Cake Pop Recipe
Equipment
- Mixing bowl (notes: large)
- Baking sheet (notes: lined with parchment paper)
- Microwave-safe bowl (notes: for melting chocolate)
- Lollipop sticks (notes: for holding the cake pops)
- Spoon or scoop (notes: for shaping)
Ingredients
- 1 box Cake mix notes: baked according to package instructions
- 1/2 cup Frosting notes: any flavor
- 2 cups Chocolate notes: melted, for coating
- 1/4 cup Sprinkles notes: optional, for decoration
- Lollipop sticks
Instructions
- Bake the cake according to package instructions and let it cool completely.
- Crumble the cooled cake into a large mixing bowl.
- Add frosting a little at a time and mix until the texture is similar to playdough.
- Roll the mixture into small balls, about 1 inch in diameter. Place on a baking sheet lined with parchment paper.
- Insert a lollipop stick into each ball and chill in the refrigerator for 15-20 minutes.
- Melt chocolate in a microwave-safe bowl, stirring every 30 seconds until smooth.
- Dip each chilled cake ball into the melted chocolate, ensuring it is fully coated.
- Decorate with sprinkles while the coating is still wet.
- Place the coated cake pops back on the parchment-lined baking sheet to set.
- Allow to cool completely before serving.
This cake pop recipe looks like such a fun and simple way to make adorable treats for any occasion! Love the tips for smooth chocolate coating and the endless decorating possibilities—perfect for parties or just a sweet pick-me-up.