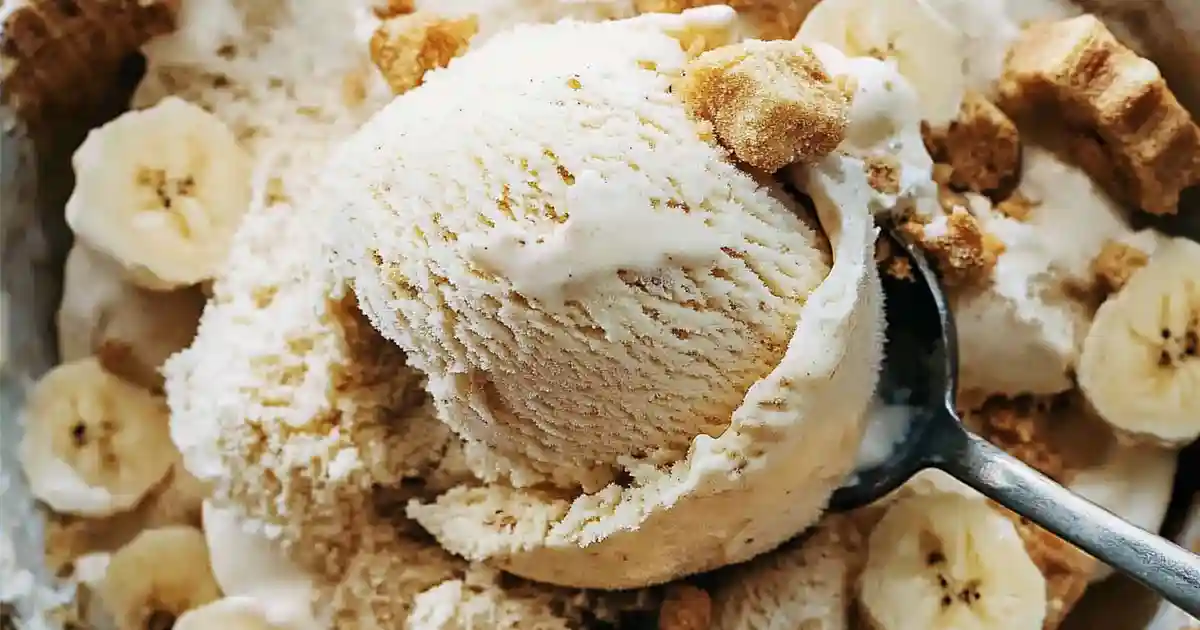
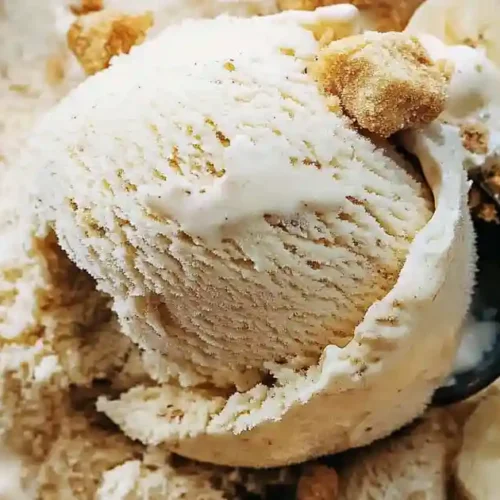
If you love classic banana pudding, just wait until you try it in ice cream form! This Banana Pudding Ice Cream is creamy, rich, and packed with real banana flavor—plus swirls of vanilla wafers and a luscious pudding base. It’s like your favorite Southern dessert, frozen to perfection!
The best part? No ice cream maker is required! With just a few ingredients and simple steps, you can whip up this dreamy dessert at home. Whether you serve it in a cone, a bowl, or sandwiched between cookies, this ice cream is a guaranteed crowd-pleaser.
Why You’ll Love This Recipe
✔ No-Churn & Easy – No fancy equipment needed!
✔ Rich & Creamy – Made with real bananas and pudding.
✔ Vanilla Wafer Crunch – The perfect balance of smooth and crunchy.
✔ Family Favorite – Perfect for kids and adults alike!
✔ Great for Make-Ahead – Stays fresh in the freezer for up to 2 weeks.
Ready to make the best homemade banana pudding ice cream ever? Let’s get started!
Here’s the Ingredients & Choosing the Best Ingredients section for your Banana Pudding Ice Cream!
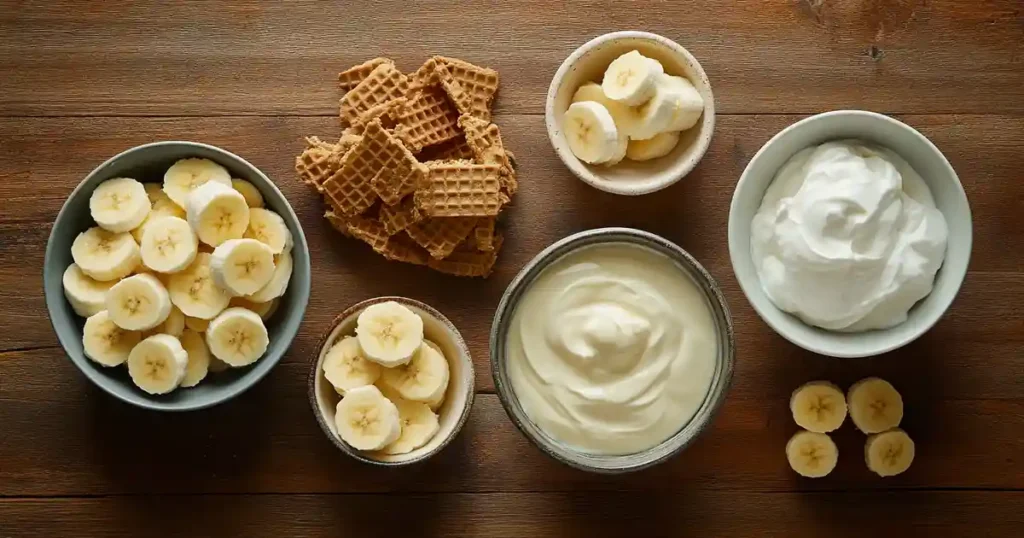
Ingredients for Banana Pudding Ice Cream
Here’s what you’ll need to make this creamy, dreamy banana pudding ice cream:
| Ingredient | Amount |
|---|---|
| Ripe bananas | 2 large, mashed |
| Sweetened condensed milk | 1 can (14 oz) |
| Heavy whipping cream | 2 cups |
| Vanilla pudding mix | 1 package (3.4 oz) |
| Whole milk | 1 cup |
| Vanilla extract | 1 teaspoon |
| Crushed vanilla wafers | 1 cup |
| Pinch of salt | Optional, for flavor balance |
Choosing the Best Ingredients
✅ Bananas – Use ripe bananas with brown spots for the best natural sweetness and flavor. Overripe bananas work even better!
✅ Sweetened Condensed Milk – This adds creaminess and sweetness without needing extra sugar. Make sure to use sweetened, not evaporated milk!
✅ Heavy Cream – Essential for a rich and smooth texture. Don’t substitute with regular milk or your ice cream won’t be as creamy.
✅ Vanilla Pudding Mix – This gives the ice cream that classic banana pudding taste while keeping it thick and smooth.
✅ Vanilla Wafers – Adds that nostalgic crunch and texture! If you love extra crunch, don’t stir them in too early—add them right before freezing.
How to Make Banana Pudding Ice Cream 🍌🍦
Follow these simple steps to make the creamiest no-churn banana pudding ice cream at home!
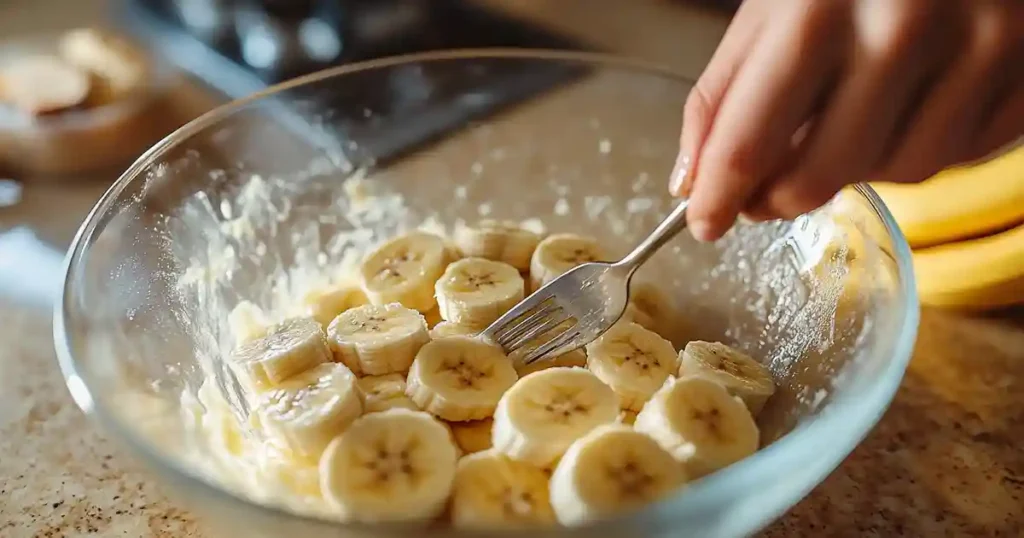
Step 1: Mash the Bananas
Peel and mash two ripe bananas in a large mixing bowl until smooth. If you like small banana chunks in your ice cream, mash them lightly.
Step 2: Mix the Pudding Base
In a separate bowl, whisk together:
- Vanilla pudding mix
- Whole milk
- Vanilla extract
Let it sit for 2-3 minutes until thickened.

Step 3: Whip the Cream
In another bowl, use a hand mixer or stand mixer to beat heavy whipping cream until stiff peaks form (about 2-3 minutes).
Step 4: Combine the Ingredients
Gently fold the sweetened condensed milk into the whipped cream. Then, stir in the mashed bananas and pudding mixture until fully combined.
Step 5: Add the Vanilla Wafers
Fold in crushed vanilla wafers, reserving some for topping. If you like bigger chunks, don’t crush them too much!
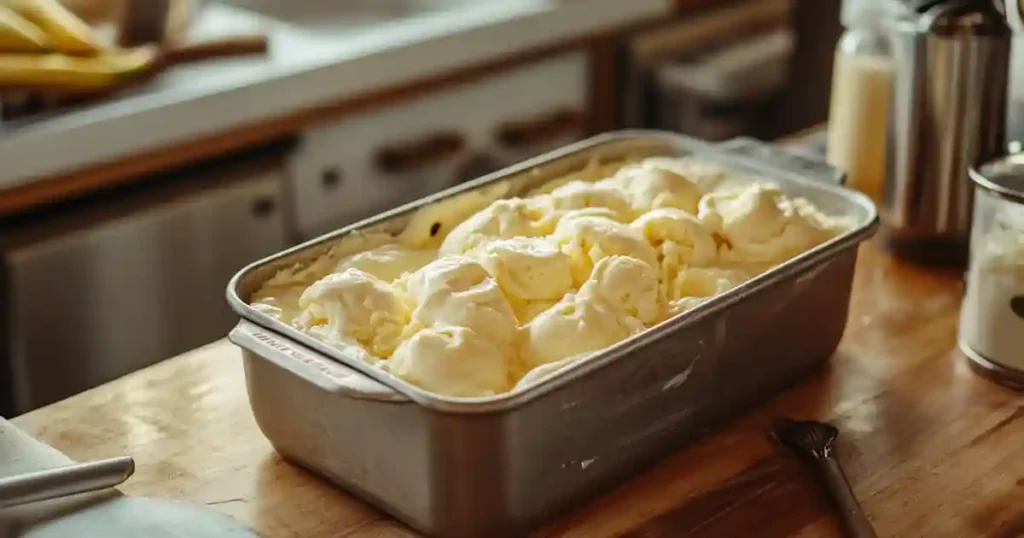
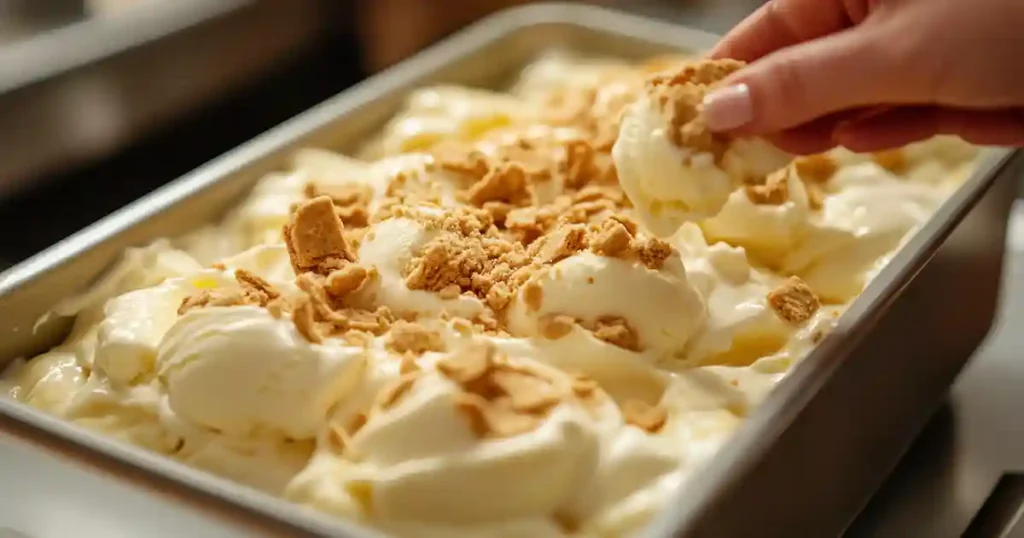
Step 6: Freeze the Ice Cream
- Pour the mixture into a loaf pan or freezer-safe container.
- Sprinkle the reserved vanilla wafers on top.
- Cover tightly with plastic wrap or a lid and freeze for at least 6 hours (or overnight) until firm.
Pro Tips for Perfect No-Churn Ice Cream
✔ Chill the Bowl & Beaters – For best results, chill your mixing bowl and beaters in the fridge before whipping the cream.
✔ Don’t Overmix – Gently fold everything together to keep the ice cream light and airy.
✔ Cover Well – To prevent freezer burn, press plastic wrap directly onto the surface before freezing.
✔ Serve Soft & Creamy – Let the ice cream sit at room temperature for 5 minutes before scooping for the perfect texture.
Best Ways to Serve Banana Pudding Ice Cream 🍌🍦
This ice cream is already delicious on its own, but here are some fun ways to serve it:
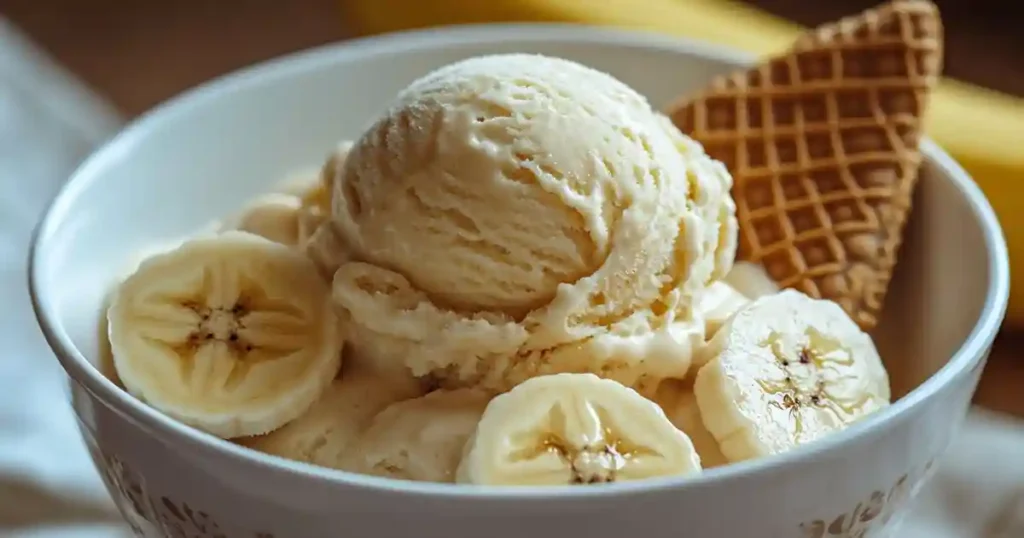
🍪 In a Bowl – Classic and simple. Top with extra vanilla wafers, banana slices, or whipped cream!
🍦 In a Cone – Scoop into a waffle cone for the perfect handheld treat.
🍰 Ice Cream Sandwiches – Spread between two vanilla wafers or sugar cookies for a banana-flavored sandwich!
🥤 Banana Pudding Milkshake – Blend with a splash of milk for a creamy, dreamy shake.
How to Store & Keep It Fresh
✅ Freezer Storage: Keep the ice cream in an airtight container in the freezer for up to 2 weeks.
✅ Prevent Freezer Burn: Press a layer of plastic wrap directly onto the ice cream before sealing the container.
✅ Soften Before Serving: Let the ice cream sit at room temperature for 5-10 minutes before scooping for the best texture.
Troubleshooting & FAQs
Why is my ice cream too hard?
- No-churn ice cream can freeze very firm. Let it sit at room temperature for a few minutes before scooping.
Can I make this with an ice cream maker?
- Yes! Just churn the base in your machine according to the manufacturer’s instructions before folding in the wafers.
Can I make this dairy-free?
- Yes! Swap the whipping cream for coconut cream, use a dairy-free pudding mix, and replace sweetened condensed milk with coconut condensed milk.
Can I use instant banana pudding instead of vanilla?
- You can, but it may overpower the fresh banana flavor. Vanilla pudding keeps it more balanced!
Banana Pudding Ice Cream
Equipment
- Mixing bowl
- Medium saucepan
- Whisk
- Ice cream maker
- Freezer-safe container
Ingredients
- 2 cups Heavy cream
- 1 cup Whole milk
- 3/4 cup Granulated sugar
- 3 Egg yolks
- 2 ripe Bananas notes: mashed
- 1 tsp Vanilla extract
- 1/2 tsp Salt
- 1/2 cup Vanilla wafers notes: crushed
Instructions
- In a medium saucepan over medium heat, combine the heavy cream, whole milk, and half of the sugar. Heat until steaming but not boiling.
- In a separate bowl, whisk the egg yolks and remaining sugar until pale and slightly thickened.
- Slowly pour the warm milk mixture into the egg yolks, whisking constantly.
- Return the mixture to the saucepan and cook over low heat, stirring continuously, until thickened enough to coat the back of a spoon (about 5-7 minutes).
- Remove from heat and stir in mashed bananas, vanilla extract, and salt.
- Let the mixture cool completely, then refrigerate for at least 2 hours.
- Churn the mixture in an ice cream maker according to the manufacturer’s instructions.
- In the last few minutes of churning, add crushed vanilla wafers.
- Transfer to a freezer-safe container and freeze for at least 2 hours before serving.
Notes
Final Thoughts
This Banana Pudding Ice Cream is the ultimate homemade frozen treat, perfect for summer or anytime you’re craving a creamy, nostalgic dessert! What are you waiting for? Grab some bananas and whip up a batch today!
Want more homemade ice cream recipes? Try my Cookies and Cream No-Churn Ice Cream or Strawberry Shortcake Ice Cream next! 🍓🍪